Managing a MORT File
Once a MORT file has been submitted, File Managers can begin documenting the investigation. By documenting the investigation, you can help determine what happened, how it happened, and what can be done to prevent re-occurence according to the MORT analysis guidelines.
Like with other RL6:RootCause forms, you can add event-related details, link to related files from other RL6 modules, record a timeline of events, and create action plans.
To manage a MORT file:
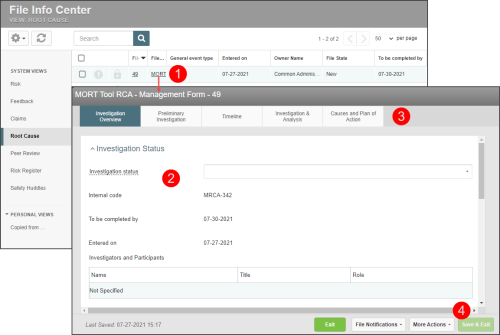
- In the File Info
- Note: you can also open files from the Search page (see Search Page File Actions).
- Review the details in the file and linked files (if applicable). In this example, Preliminary Investigation is the first tab displayed and it provides a summary of the investigation details, related events, and file attachments.
- In each tab, use the fields provided to document details (see Investigation Overview Tab, Timeline Tab, Investigation & Analysis Tab, and Causes and Plan of Action Tab). Data is saved in the file when you switch between tabs.
- To exit out of the file at any time, click Save & Exit.